Let’s get one thing straight: the biggest threat to your home during a wildfire isn’t a giant wall of flames. The real danger is much smaller and sneakier: embers. These tiny, burning fragments travel for miles on the wind, landing on your property long before the main fire arrives. They are the number one cause of home ignition, and they get in through your home’s most vulnerable spots—especially your vents. This guide will show you exactly how to protect vents from embers and turn your home’s weakest points into a solid line of defense.
Key Takeaways
- Secure Vents with the Right Mesh: Embers are the primary threat in a wildfire, and vents are their main entry point. Use noncombustible metal mesh, like steel or copper, with openings 1/8-inch or smaller to effectively block them.
- Proper Installation and Maintenance are Crucial: Simply covering a vent isn’t enough. Ensure screens are installed without any gaps and make a habit of regularly cleaning away flammable debris like leaves and pine needles to keep your defenses effective.
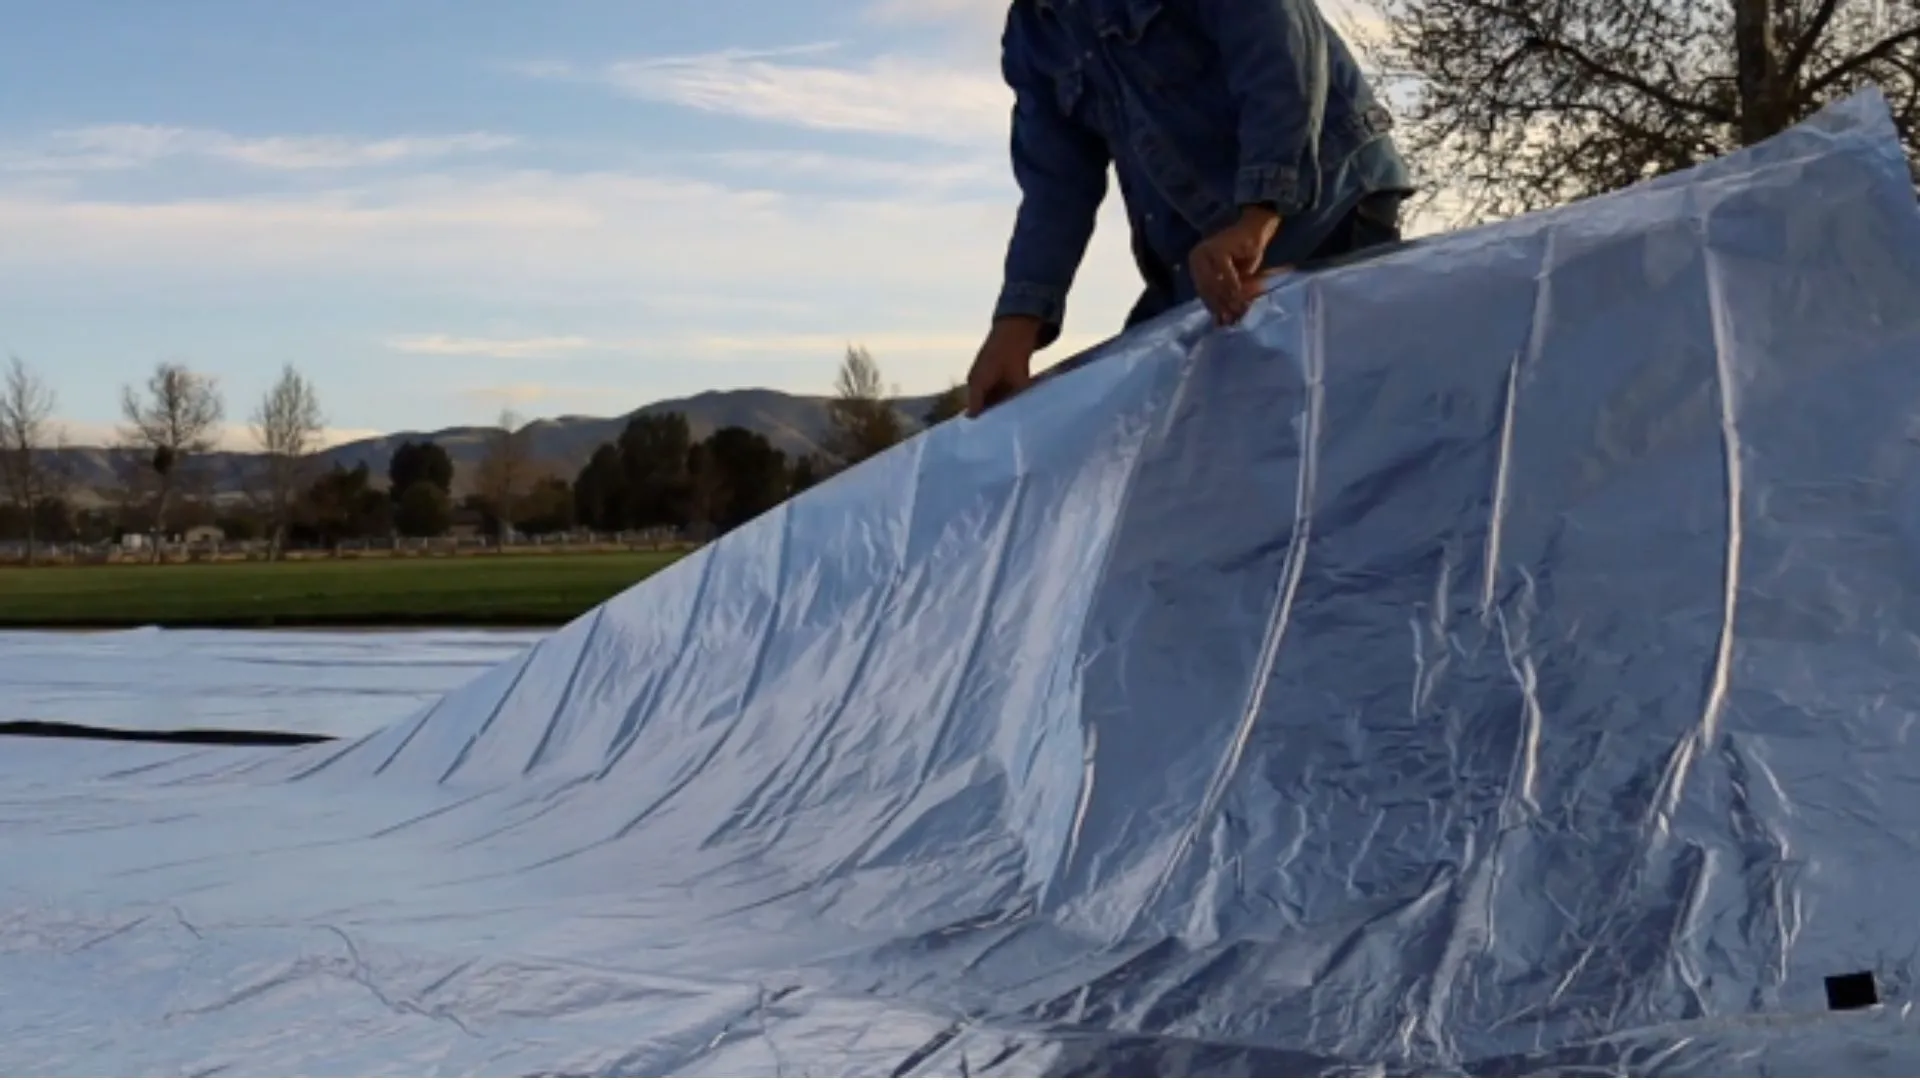
- Combine Vent Protection with a Complete Defense Plan: Securing vents is a critical first step, but it should be part of a larger strategy that includes creating defensible space and using professional-grade systems like a FireFoil fire shield—a structural safeguard, not a simple fire blanket—to protect your entire home.
Why Wildfire Embers Are Your Home’s Biggest Threat
When you picture a wildfire, you probably imagine a massive wall of flames. While direct flame contact is a serious danger, it’s not how most homes are lost. The real culprit is often much smaller and far more insidious: embers. These tiny, burning fragments are the wildfire’s advance party, responsible for igniting the vast majority of homes that burn down during a wildfire event.
Embers are lightweight pieces of burning wood and vegetation that get carried by the wind, sometimes for miles ahead of the actual fire front. They can rain down on a neighborhood long before the flames are visible, creating a blizzard of fire. Because of their size, they can easily find their way into the most vulnerable parts of your home. They get trapped in gutters, pile up against siding, and, most dangerously, get sucked inside through vents. Once an ember finds fuel—like dry leaves in a gutter or insulation in an attic—it can quickly ignite a new fire, destroying a home from the inside out or from the roof down. Understanding this threat is the first and most critical step in protecting your property. It shifts the focus from defending against a giant wall of fire to securing the small, seemingly insignificant entry points where your home is most exposed.
How Do Embers Travel and Start Fires?
Think of embers as fiery seeds carried on the wind. During a wildfire, the intense heat and turbulent air can lift these burning bits high into the atmosphere, allowing them to travel far ahead of the main blaze. They can land on your roof, in your yard, or on your deck, but the real danger begins when they find a way inside your home. An ember can smolder for hours before igniting, meaning a fire could start long after the immediate threat seems to have passed. They don’t need a large opening; even a small gap is enough for a wind-driven ember to find its way in and start a fire.
Are Your Vents an Open Door for Embers?
Your home needs to breathe, and it does so through a series of vents in the attic, foundation, and roof. Unfortunately, these essential openings are also open doors for embers. Standard vent screens have mesh that is often too wide to stop wind-driven embers from passing through. Attic and soffit vents are particularly vulnerable, as they can allow embers to enter and ignite flammable materials like insulation, stored belongings, or the wooden framing itself. Once a fire starts in an attic, it can spread rapidly throughout the entire structure, often before anyone inside is even aware of the danger.
How to Find Your Home’s Weak Spots
To effectively protect your home, you need to think like an ember. Take a walk around your property and look for all the potential entry points and places where flammable debris can accumulate. Your vents are the top priority—check attic, soffit, foundation, and gable-end vents. But don’t stop there. Look for gaps under eaves, around windows, and beneath doors. Clogged gutters filled with dry leaves are a perfect landing spot for embers. Piles of firewood stacked against the house, flammable patio furniture, and dry mulch next to the foundation are all invitations for disaster. Creating a home hardening checklist can help you systematically identify and address these weak points before a wildfire strikes.
How to Choose the Right Protection for Your Vents
When it comes to protecting your home’s vents from embers, not all solutions are created equal. A standard screen might keep bugs out, but it won’t stand a chance against a flurry of hot embers. Choosing the right protection means looking at specialized designs and materials engineered specifically for wildfire defense. It’s about creating a barrier that can withstand intense heat and stop even the smallest embers from finding their way inside. Let’s walk through what makes for effective vent protection, from the type of screen you choose to the materials it’s made from.
Fire Shields vs. Screens: What’s the Real Difference?
A standard window or vent screen is designed to keep insects and debris out, not to stop a wildfire. These screens are often made of materials that can easily melt or burn, creating an open door for embers. A fire shield, on the other hand, is a purpose-built defense system. For example, FireFoil’s technology is engineered to stop embers cold by reflecting radiant heat and creating a noncombustible barrier. While some people might mistakenly call these solutions “fire blankets,” a true fire shield is a structural safeguard designed for homes, unlike a small blanket meant for extinguishing a kitchen fire. A fire shield adds a critical layer of defense that standard screens simply can’t provide.
What to Look for in a Vent Shield Material
The material your vent screen is made of is one of the most important factors in its effectiveness. You need something that won’t burn or melt when exposed to high heat. According to home safety experts, you should always “choose vents made of stainless steel, galvanized steel, or copper.” These metals are noncombustible and can withstand the extreme temperatures of a wildfire. You should never use fiberglass or plastic screens on your vents. These materials can melt away in the heat, not only failing to protect your home but potentially widening the opening for embers to enter. Sticking with metal is a simple, non-negotiable rule for hardening your home’s vents.
Does Mesh Size Really Matter for Ember Defense?
Beyond the material, the size of the openings in the mesh is critical. If the mesh is too large, it will let embers pass right through. If it’s too small, it can get clogged with dust and debris, which restricts airflow and can become a fire hazard itself. Fire safety organizations like Fire Safe Marin recommend a specific range for ember defense. Vents should be protected by a corrosion-resistant, noncombustible wire mesh screen with openings between 1/16 and 1/8 of an inch. This size is small enough to block wind-driven embers but large enough to allow for proper ventilation, striking the perfect balance between safety and function.
Balancing Protection with Airflow
While your first instinct might be to seal every possible opening, your home’s vents serve a critical purpose. They allow your house to breathe, preventing moisture buildup and maintaining healthy air quality, which is why completely blocking them isn’t the answer. The key is to find the right balance between robust protection and adequate airflow. The recommended 1/16- to 1/8-inch mesh size is specifically designed for this purpose—it’s fine enough to stop dangerous embers but open enough to maintain proper ventilation. If you have any concerns about how new vent screens might affect your home’s specific needs, it’s always a good idea to talk to a builder or expert to ensure everything functions as it should.
Vent Protection Materials to Avoid
Just as important as knowing what to use is knowing what to avoid. As a rule, do not use any mesh with openings larger than 1/4 inch, as it simply won’t stop embers from entering your home. On the other end, while 1/16-inch mesh is the minimum standard, going any smaller can cause the screen to clog easily, which can lead to poor attic ventilation and moisture issues. And it’s worth repeating: never use plastic, vinyl, or fiberglass screens for your vents. These materials offer a false sense of security and will fail when you need them most. Making the right material and sizing choices is a foundational step in creating a defensible home.
Comparing the Cost and Performance of Vent Solutions
Upgrading your home’s vents is an investment, and like any investment, it’s smart to weigh the costs against the benefits. Vents are a known weak spot; they let your house breathe but can also become a direct entry point for burning embers during a wildfire. While the upfront cost of specialized, fire-resistant vents is higher than standard mesh, the performance difference is night and day. According to Fire Safe Marin, the common 1/4-inch screens found on many homes simply don’t stop embers effectively and should be replaced. The cost of inaction—the potential loss of your home—is immeasurably higher than the cost of a proper upgrade. Think of it as purchasing a critical piece of your home’s insurance policy, one that actively works to prevent a disaster rather than just compensating you after the fact.
Beyond Screens: Advanced Vent Technologies
While installing fine metal mesh is a great first step, vent protection technology has come a long way. Today, you can find advanced vents engineered with clever designs that go beyond just acting as a simple screen. These modern solutions are built to address the core challenge of wildfire defense: how to let air flow freely during normal conditions but create an impenetrable barrier when embers and flames are present. From vents that slam shut in the face of heat to those with intricate internal pathways that trap embers, these technologies offer a higher level of security. Let’s look at a few of the most effective designs available for homeowners looking to seriously harden their homes against wildfire threats.
Vents with Overlapping Baffles
Imagine a maze designed specifically to trap embers. That’s the basic idea behind vents with overlapping baffles. Instead of a simple screen, these vents feature a series of internal, interlocking plates. This design allows air to follow a winding path to ventilate the space, but it stops wind-driven embers, which tend to travel in a straight line. Many of these vents, like those from BrandGuard Vents, combine this baffle system with a fine mesh screen for a second layer of defense. This dual-action approach ensures that even the smallest embers are blocked before they can get anywhere near the flammable materials inside your attic or foundation, all while maintaining the necessary airflow for your home.
Self-Closing Vent Designs
Some of the most innovative vent solutions are designed to be reactive, closing themselves off completely when danger is near. These self-closing vents operate like a normal vent most of the time, allowing air to circulate freely. However, they contain a heat-activated mechanism. When exposed to the high temperatures of a wildfire, a special material inside the vent expands and seals the opening shut. This action effectively closes and locks the door against embers and flames at the most critical moment. It’s a smart, automated defense system that provides a complete seal, offering peace of mind that your home’s most vulnerable entry points are secured even if you’re not there.
The Unvented Attic: An Alternative Approach
Another way to solve the problem of vulnerable vents is to eliminate them entirely. An unvented attic, also known as a conditioned or sealed attic, takes a completely different approach to home construction. Instead of venting the attic to the outside, insulation is applied directly to the underside of the roof deck, making the attic part of the home’s conditioned space. This design inherently improves wildfire safety because there are no vent openings for embers to enter in the first place. While this is a highly effective strategy, it’s typically best suited for new construction or major home renovations, as retrofitting an existing attic to be unvented is a complex and expensive project.
Additional Features of High-Quality Vents
When you’re shopping for wildfire-resistant vents, a few key features signal a high-quality, reliable product. Look for vents that are not just ember-resistant but also flame-resistant. Top-tier products, such as those from Embers Out, are designed to block 100% of embers and even direct flames, providing a robust barrier against ignition. The construction should be durable and corrosion-resistant, using materials like stainless steel or galvanized steel to ensure they last. These vents are engineered to serve as direct replacements for your existing attic or foundation vents, making the upgrade straightforward. Investing in a vent with these proven features adds a powerful and permanent layer of protection to your home’s overall defense system.
A Guide to Protecting Every Vent in Your Home
Embers are the primary threat to your home during a wildfire, and vents are their most common entry point. These small openings in your attic, foundation, and walls are necessary for airflow, but they can act as open doors for wind-blown embers. Securing these vulnerabilities is one of the most effective steps you can take to harden your home. By focusing on each type of vent, you can systematically close off these pathways and significantly reduce your home’s risk of ignition from the inside out.
Identifying High-Risk Vent Locations
To truly secure your home, you have to start thinking like an ember. Take a walk around your property and look for the easiest ways in. Your highest-risk locations are almost always the vents leading into your attic space. This includes soffit vents (under the eaves), gable-end vents, and any vents on the roof itself. These are especially dangerous because they offer a direct pathway for embers to reach highly flammable materials like insulation, stored boxes, and the wooden framing of your roof. Once a fire starts in an attic, it can spread through the entire house undetected. Don’t forget to check foundation or crawl space vents as well. Creating a simple checklist as you inspect your home will help you systematically find your home’s weak spots and ensure no vulnerability is overlooked.
Securing Your Attic and Soffit Vents
Your attic and the soffits under your eaves are highly susceptible to embers, which can easily ignite insulation and roofing materials. The best defense is to upgrade to modern, fire-resistant vents that are designed to block embers while maintaining airflow. If a full replacement isn’t an option, you can retrofit your existing vents by covering the openings with a fine wire mesh screen. It’s critical that the mesh openings are no larger than 1/8-inch—or ideally 1/16-inch—to be effective. Standard 1/4-inch screens are too porous and will not stop embers from passing through. This simple modification can make a huge difference in protecting the highest points of your home.
Addressing Vulnerable Gable End Vents
Gable end vents present a unique challenge. Because of their size and placement, often facing directly into the wind, they can act like giant scoops for flying embers. This makes them one of the most critical vulnerabilities to address when hardening your home. In fact, many homes are lost during wildfires simply because embers find their way into these large, unprotected openings. If your home has gable vents, they should be a top priority. The most effective solution is to replace them with modern, wildfire-resistant vents that are specifically designed to block embers. These vents often feature baffles and other mechanisms that stop fiery debris without compromising the essential airflow your attic needs.
Protecting Foundation and Crawl Space Vents
Vents located in your foundation or crawl space are another critical area to address. Embers can accumulate like snowdrifts against the base of your home, giving them direct access to these low-lying openings. You should regularly check all vents that aren’t used for furnace or radon gas exhaust. Any vent with openings larger than 1/8-inch needs to be covered with the appropriate fine wire mesh or replaced entirely. If you’re unsure which vents are safe to cover, it’s always a good idea to consult a professional. Securing these vents helps create a complete seal around the lower portion of your home, preventing embers from getting underneath your floors.
Don’t Forget Dryer and Exhaust Vents
Your dryer vent is a direct, four-inch-wide opening into your home. While it needs to be clear when your dryer is running, it becomes a major vulnerability when not in use. The solution is straightforward: ensure your dryer vent has a cover with a damper or louvers that automatically close when the appliance is off. This simple mechanism allows lint and hot air to escape during a cycle but provides a reliable seal against embers the rest of the time. The same principle applies to other exhaust vents, like those for your bathroom or kitchen. Check that their exterior covers are intact and functioning correctly.
Reinforcing Your Garage Vents
Garages often contain flammable liquids, vehicles, and other combustible materials, making them a high-risk area. To protect this space, install ember-resistant vents designed specifically for garage applications. These vents effectively block embers while allowing for the necessary airflow to prevent moisture and fume buildup. Because maintaining proper ventilation is just as important as fire protection, you may want to hire an experienced contractor for the installation. This ensures your garage is both safe from embers and protected from the long-term damage that poor airflow can cause. It’s a smart investment in your home’s overall resilience.
Securing Other Entry Points like Dormer and Balcony Vents
It’s easy to focus on the big, obvious vents in your foundation or attic, but many homes have smaller, less noticeable openings that are just as vulnerable. Think about dormer vents, which lead directly into your roof structure, or the vents tucked away under balconies and decks. These spots can easily trap wind-blown embers, giving them a direct line into your home’s framing. The same rules apply here as they do for any other vent: you need to secure these vulnerabilities with a noncombustible mesh screen. Make sure the openings are 1/8-inch or smaller to effectively block embers. Taking the time to inspect every corner of your home’s exterior for these hidden entry points is a critical step in creating a truly hardened defense.
How to Upgrade Your Vents for Ember Protection
If your home isn’t brand new, chances are your vents weren’t designed with wildfire safety in mind. The good news is that you can upgrade them to create a strong barrier against embers. This is one of the most effective home hardening projects you can tackle. By retrofitting your existing vents with the right materials, you significantly reduce the risk of embers finding their way into vulnerable spaces like your attic or crawl space. It’s a straightforward process that involves assessing what you have, installing proper screening, and sealing any gaps. Let’s walk through how to get it done right.
Start by Assessing Your Current Vents
First, you need to know what you’re working with. Take a walk around your property and locate every vent. You’ll find them in your foundation, attic, soffits, roof, and gables. The goal is to inspect any vent that isn’t used for furnace or radon gas exhaust. If you’re not sure which is which, it’s always best to ask a professional. Look closely at the openings. According to wildfire safety experts, any vent with an opening larger than 1/8 of an inch is a potential entry point for dangerous embers. Make a list of every vent that needs an upgrade so you can create a clear plan of action.
Your Step-by-Step Installation Guide
Once you’ve identified the vulnerable vents, it’s time to secure them. The most common method is to cover the openings with a noncombustible metal screen. You’ll want to use a 1/8-inch metal screen mesh, often sold as “hardware cloth” at home improvement stores. Simply cut the mesh to size and securely fasten it over the exterior of the vent. For a more integrated solution, you can also purchase specially designed ember-resistant vents. These vents are built with internal baffles or patterns that block embers while maintaining necessary airflow, offering a clean look and built-in protection without the need for external screens.
How to Seal Gaps for an Airtight Defense
Installing a screen is the main step, but don’t forget the details. Embers are tiny and can slip through the smallest cracks, so you need to ensure there are no gaps around the vent itself. After installing your screen or new vent, carefully inspect the perimeter where the vent meets the wall. Use a high-quality, fire-resistant caulk to seal any cracks or openings. As recommended by CAL FIRE, always use noncombustible materials for this job. Avoid plastic or fiberglass screens, which can melt in high heat and render your efforts useless. A complete seal is your best defense.
DIY vs. Pro: When to Call for Help
While retrofitting vents can be a DIY project, there are times when calling a professional is the smartest move. If you’re uncomfortable working on a ladder to reach high vents, or if you’re unsure about proper installation techniques, a qualified contractor can handle the job safely and effectively. Even if your home already has ember-resistant vents, it’s a good idea to have an expert inspect them periodically. A professional can verify they are in good condition and still providing adequate protection. Investing in a professional assessment can give you valuable peace of mind that your home is truly prepared.
How to Maintain Your Ember-Proof Vents
Installing ember-resistant vents is a fantastic step toward protecting your home, but it’s not a one-and-done task. Like any other part of your home’s defense system, these vents need regular attention to stay effective. A little bit of maintenance ensures they can do their job when it matters most—blocking wind-blown embers from entering your home. Think of it as a simple routine that keeps your investment working for you. By regularly inspecting, cleaning, and repairing your vents, you can be confident that your home has the best possible protection against one of wildfire’s biggest threats.
A Quick Inspection Checklist
Set aside some time at least twice a year to walk around your property and take a close look at every vent. You’ll want to inspect vents in your attic, foundation, soffits, and gables. Don’t forget about dryer and exhaust vents, though you should be careful not to block any that release furnace or radon gases. If you’re unsure which is which, it’s always best to ask a professional. During your inspection, look for any signs of damage, like corrosion, warping, or holes in the mesh. Check for gaps between the vent and the wall, and make sure the vent cover is securely attached. A quick visual check can help you spot small issues before they become big problems.
Simple Care and Cleaning for Your Vent Shields
Debris is the enemy of an effective vent shield. Embers can easily ignite dry leaves, pine needles, and cobwebs that have collected on or around your vents. Make cleaning your vents a regular part of your yard work routine. Use a brush or a shop vacuum to gently clear away any buildup on the mesh screen. This is especially important for roof vents, which can accumulate a lot of debris. While you’re at it, make sure your gutters are clean, as clogged gutters provide another potential ignition point for embers. A clean vent not only works better but also helps you harden your home against wildfire threats.
Warning Signs: Is It Time for a Replacement?
Even the best vents can wear out over time. If you spot any significant damage during your inspection—like rust that has eaten through the mesh, large holes, or a frame that has pulled away from the wall—it’s time for a replacement. The entire purpose of an ember-proof vent is to stop embers from getting inside, and any opening, no matter how small, can compromise your home’s safety. If you have older vents, you might also consider an upgrade even if they aren’t damaged. Building codes and vent technology have improved, and a newer model may offer much better protection. An expert can help you check your vents to ensure they meet current safety standards.
Your Year-Round Maintenance Schedule
The best way to stay on top of vent maintenance is to put it on a schedule. A great time to perform your inspection and cleaning is in the spring, just before the start of wildfire season. This gives you plenty of time to make any necessary repairs or replacements. Give them another check in the fall after the leaves have dropped to clear away any new debris. If you live in an area with year-round fire risk, a quarterly check is a smart move. By making vent maintenance a predictable part of your home care routine, you ensure your home’s defenses are always ready.
Beyond Vents: Your Complete Wildfire Defense Plan
Protecting your vents is a critical step, but it’s one piece of a much larger puzzle. A truly resilient home is one that’s defended by a comprehensive strategy. This means looking at your property as a whole—from your landscaping to your roofline to your family’s emergency preparedness. By layering different defensive tactics, you create a robust system that gives your home the best possible chance of survival. Let’s walk through the essential components of a complete wildfire defense plan.
How to Create an Effective Defensible Space
Think of the area around your home as a protective buffer. This is your defensible space, and managing it properly can dramatically reduce risk. The goal is to remove fuel sources that a wildfire could use to reach your house. Start by clearing away dead plants, dry leaves, and fallen wood from your yard, roof, and gutters. Trim tree branches so they don’t hang over your roof, and remove any dead limbs. Creating this defensible space doesn’t mean you have to clear-cut your property; it’s about smart landscaping that slows a fire’s spread and gives firefighters a safe area to work.
More Ways to Harden Your Home Against Wildfires
Home hardening involves making your house itself more resistant to catching fire from embers and radiant heat. Beyond securing your vents, this means examining every part of your home’s exterior. Use noncombustible metal mesh screens over all vent openings, as plastic or fiberglass can melt. Consider upgrading to ember-resistant vents designed to block embers while maintaining airflow. Look at other vulnerabilities, too. Are your windows double-paned? Is your roofing material Class A fire-rated? Sealing gaps under doors and on the garage can also prevent embers from getting inside. Each small improvement adds another layer to your home’s defense.
Does Your Family Have an Evacuation Plan?
When a wildfire threatens, your family’s safety is the top priority. A well-rehearsed emergency plan can make all the difference. Start by creating and practicing a family evacuation plan. Make sure everyone knows at least two ways to leave your home and neighborhood, and decide on a meeting place. Assemble an emergency kit with essentials like water, non-perishable food, medications, flashlights, and important documents. Stay informed by signing up for local emergency alerts. Having a clear emergency plan reduces panic and ensures everyone knows exactly what to do when time is of the essence.
Why Professional-Grade Protection Is Worth It
For the highest level of protection, professional-grade systems provide a crucial final barrier. This is where a fire shield becomes essential. While some people mistakenly refer to them as fire blankets, a fire blanket is not designed to protect an entire structure. FireFoil’s fire shields are engineered specifically for this purpose, protecting homes from the radiant heat and flying embers that cause up to 90% of home ignitions. Trusted by the US Forest Service, these wildfire shields are made from aluminum-based materials that reflect over 95% of radiant heat. They add a powerful layer of defense that blocks embers from reaching vulnerable spots like vents, windows, and doors, without needing water or chemicals.
Common Mistakes When You Protect Vents from Embers
Protecting your home’s vents is one of the most effective steps you can take against wildfire, but it has to be done right. A well-intentioned mistake can leave your home just as vulnerable as having no protection at all. Getting the details right—from the materials you choose to how you install them—makes all the difference. Let’s walk through some common missteps so you can avoid them and create a truly secure defense for your home.
Mistake #1: Using the Wrong Materials
When it comes to vent screens, the material is everything. It’s tempting to grab any screen mesh, but many common materials are completely unsuitable for wildfire defense. Plastic and fiberglass screens, for example, will melt or burn when exposed to high heat, creating the very opening you were trying to prevent. Similarly, a standard 1/4-inch screen is too large to stop wind-driven embers. Instead, you need to use strong, fire-resistant materials that can withstand extreme conditions. Always choose screens made from stainless steel, galvanized steel, or copper to ensure your vents are properly protected when it matters most.
Mistake #2: Making Common Installation Errors
Even the best materials won’t protect your home if they aren’t installed correctly. A common mistake is leaving small gaps around the edges of the screen, which are all an ember needs to get inside. Your vent screens should have a mesh size of 1/8-inch or, even better, 1/16-inch to effectively block embers. When retrofitting existing vents, it’s crucial to ensure a tight, secure fit. If you’re installing new, tighter vents, it’s a good idea to talk with a building professional. They can help you make sure your home still has enough airflow for proper ventilation, preventing moisture issues down the line. Proper installation is just as important as the screen itself.
Mistake #3: Forgetting About Maintenance
Installing ember-resistant vents is a fantastic first step, but it’s not a one-and-done task. Over time, vents can collect leaves, pine needles, and other flammable debris that can easily ignite from a stray ember. Forgetting to clean them is a simple but dangerous oversight. Make it a habit to inspect your vents regularly, especially those on the roof or near trees. You should regularly remove leaves and debris from all vent openings and the areas around them, including your gutters. A clean vent is an effective vent, ensuring your home’s first line of defense remains strong season after season.
Mistake #4: Overlooking Critical Safety Steps
Protecting your vents is about more than just covering an opening; it’s about creating a complete system of defense. A critical mistake is forgetting what’s on the other side of the vent. Embers that manage to get through can ignite flammable materials stored in your attic, crawl space, or garage. Be sure to keep these areas clear of things like cardboard boxes, old rags, and other combustibles. It’s also important to remember that vents serve a dual purpose. Using the right products ensures you can stop embers without creating issues like moisture buildup inside your walls or attic, which can lead to a different set of problems.
Staying Compliant with Local Building Codes
Making sure your home’s vent protection is up to code isn’t just about checking a box—it’s about ensuring your safety measures are based on proven, effective standards. Local building codes are designed with your area’s specific wildfire risks in mind. Following them ensures that your vents are properly shielded against embers according to guidelines developed by fire safety experts. Adhering to these standards is a critical step in hardening your home and can give you confidence that your defenses will hold up when it matters most.
Understand Your Local Requirements
Before you buy or install anything, you need to know the rules for your specific area. Building codes can vary significantly from one county to the next, but they often include precise details for vent protection. For example, many areas require vents that can block embers and flames, often specifying a corrosion-resistant, noncombustible wire mesh with openings between 1/16 and 1/8 of an inch. You can usually find these requirements on your local fire department or county building authority’s website. Taking the time to understand these codes is the first step toward effective protection.
Why Following Installation Guidelines Matters
Even the best ember-resistant vents won’t work correctly if they aren’t installed properly. A poor fit can leave small gaps that are just big enough for embers to slip through, and improper installation can restrict airflow, potentially leading to moisture or ventilation issues inside your home. This is why it’s a good idea to hire an experienced contractor for the job. A professional will ensure your vents are securely fitted, sealed, and still provide the necessary airflow, giving you a reliable defense that’s built to last.
The Importance of Choosing Certified Products
When you’re shopping for vent covers or shields, look for products that have been officially tested and certified. Certifications provide peace of mind that what you’re buying has been proven to withstand fire conditions. Look for products that meet standards from organizations like ASTM (American Society for Testing and Materials) or have been approved by agencies such as the California Fire Marshal. These certifications mean the materials and design have passed rigorous testing for fire resistance, so you can trust they will perform as promised during a wildfire.
Key Testing Standards for Wildfire Vents
When you’re choosing products to protect your home, you want proof that they actually work. That’s where testing standards come in. These certifications show that a vent has been put through rigorous, standardized tests to ensure it can stand up to wildfire conditions. For example, many high-quality vents are tested for flame, ember, and heat resistance under standards like ASTM E2886/2912. Some are even given a one-hour fire-resistance rating based on the ASTM E119 standard, which tests how long a material can contain a fire. Products listed by agencies like CAL FIRE have been vetted to meet these strict requirements, giving you confidence that you’re installing a proven defense.
Navigating WUI, State, and Local Codes
Wildfire safety regulations aren’t one-size-fits-all; they change depending on where you live, especially if you’re in the Wildland-Urban Interface (WUI). Before you buy or install anything, you need to know the rules for your specific area. Building codes can vary significantly from one county to the next, but they often include precise details for vent protection. For instance, many areas require vents that can block embers and flames, often specifying a corrosion-resistant, noncombustible wire mesh with openings between 1/16 and 1/8 of an inch. Your local fire department or county building authority is the best source for this information, ensuring your home hardening efforts are fully compliant and effective.
Related Articles
- Your Home’s 5 Most Vulnerable Parts to Embers
- Creating an Ember-Free Zone: A 5-Step Guide
- The Best Ember Proof House Wrap: A 2025 Guide
- The Essential Structure Protection Wrap Guide
Frequently Asked Questions
Is a fire blanket the same as a fire shield for my home? This is a great question, and it’s important to know the difference. A fire blanket is a small, simple item designed to smother a minor fire, like one on a stovetop. It is not designed or able to protect a structure from a wildfire. A fire shield, like the technology developed by FireFoil, is a professional-grade system engineered to safeguard an entire home by reflecting radiant heat and blocking embers. Think of it as a structural safeguard, not a small emergency tool.
I’m on a budget. What’s the most critical first step I can take to protect my vents? The most effective and budget-friendly first step is to retrofit your existing vents with the right screening. You can buy noncombustible, 1/8-inch metal mesh, often called hardware cloth, at most home improvement stores. Cut it to size and securely fasten it over all your vent openings. This single action creates a strong barrier against embers where your home is most vulnerable and is the foundation of good vent protection.
If I secure all my vents, is my home completely safe from wildfires? Securing your vents is one of the most important things you can do, but it’s one part of a complete defense strategy. True wildfire resilience comes from layering your protections. This includes creating defensible space by clearing flammable vegetation around your home, hardening other parts of your house like the roof and windows, and having a solid family emergency plan. Each step works together to give your home the best possible chance of survival.
Can I install ember-resistant screens myself, or do I need to hire a professional? For many homeowners, installing metal mesh over existing vents is a manageable DIY project. However, if you’re not comfortable on a ladder, are unsure which vents are safe to cover, or are considering a full replacement with modern ember-resistant vents, it’s wise to call a professional. A contractor can ensure the installation is secure, properly sealed, and doesn’t compromise your home’s necessary airflow.
How often should I really be checking my vents, and what am I looking for? A good routine is to inspect your vents at least twice a year, once in the spring before fire season and again in the fall. During your check, look for any buildup of leaves, pine needles, or other debris that could act as fuel for an ember. You should also check the screen itself for any holes, rust, or gaps around the frame where it meets the wall. A clean and intact vent is a vent that’s ready to protect your home.